Pages

Showing posts with label Vinyl. Show all posts

Thursday, July 26, 2012

How to use Armour Etch


This past weekend I went to a friend's wedding.  She had ordered some personalized, fluted wine glasses but wasn't pleased with the way they turned out.  THEN, she asked me if I would make some for her.  I was intimidated, but jumped right in!

Here are the steps to ETCHING GLASS easily at home:

1.  CREATE YOUR STENCIL.  In this case I used my Silhouette and cut out my design; then "weeded" the vinyl.  (See below.)


2.  USE TRANSFER TAPE AND ATTACH TO GLASS.  After I had "weeded" the vinyl, I strongly rubbed my transfer tape over my design.  Then I cut out the vinyl/transfer tape and attached it to the glass.  After it was SECURELY burnished down to the CLEANED glass, I REMOVED the transfer tape.  That left the area that said "Sharon & Joe" exposing the glass.  THEN I put on ARMOUR ETCH pretty thick.

IMPORTANT:  You really want to make sure the vinyl is firmly attached to the glass.  Watch closely for bubbles OR loose vinyl.  If there's ANY gap between the vinyl and the area to be etched, the etching cream will seep under and ruin your masterpiece!


3.  WAIT...then RINSE.  The etching occurs pretty fast.  I leave it on for approximately 5 minutes, then you rinse off the etching cream.  I use hot water because it softens the vinyl for easy removal.  It especially makes it easy to remove the small vinyl pieces like inside the "a" and "o".
4.  Enjoy your efforts!


Thursday, May 31, 2012

Hope Plates and Lillie


These plates are a part of my previous project that I had to put it on hold for a couple of days.  Making these plates for my daughter ended up being one of those "gotta love my dog" moments.  You may remember my mentioning our dog, Lillie.  Well, as I was moving from one project to the next, I discovered my "burnisher" went missing.  Knowing that Lillie has a peculiar affinity for plastic, (crazy dog) I knew I needed to start hunting.  This was what I found.


Cut out on Cricut; weed and attach transfer tape.

A contrite Lillie, "helped" me create these plates.  She shows you the steps below:


"See...I'm helping. I love you so much."


I think the shape and color of the plates matches my daughter's bedspread perfectly!  I think Lillie is about three shades of crazy...but I love her.

Monday, May 28, 2012

Purty Plates!


When I ran across these salad plates in the Clearance Section of Kmart,  I knew I had to create something!

"Clearance".  Isn't that the most beautiful word ever created?  In the hearts of bargain hunters like me, "Clearance" is the "Hallelujah!" of all frugal words.  I digress...

Anyway, I wanted to show you how to use the Silhouette and Silhouette Studio to make some fun and easy projects.


First, you decide what you want your project to say.  In this case, I am working on two projects at a time, (more photos to follow), so I selected my type and size in "Silhouette Studio" and sent it to the Silhouette to be cut.

After you cut the images, you "weed" the excess vinyl with an exacto knife, and you end up with something like this.


On top of the "weeded" image, you apply the transfer tape and burnish it down really good with either a burnisher, like the white one above, or you can use any firm scraper such as a Pampered Chef scraper or a credit card.  Then, you peel off the top layer, the tape, which has the vinyl attached.  It is sticky, so be careful when you lay it in place.  It's a mess if you try to move it.  Again you use the burnisher to smooth out any bubbles, and to create good adhesion.

And here is what we ended up with!


Now if I could only cook.

Thursday, May 17, 2012

Vinyl on Wood


I made these using my Cricut, vinyl and 4X4 posts.  I made a "white wash" of mostly water and a little bit of white acrylic paint and covered the sanded 4x4 blocks.  Then I attached the cut vinyl.  I finished them off with a little twine.  Super easy and the possibilities are endless as to what you can "write" on the blocks!

Monday, May 7, 2012

Glass Etching!

First off, it is a pill to photograph etched items.  A REAL pill.  You need to first actually have your kitchen counter cleaned COMPLETELY off (no crumbs...ha! Like that's gonna happen at my house!)  And, it needs to be clutter free as not to show up junk in the background.  (Double ha!!!  Oh, thank God for photo editing software.)

I made these mugs for a friend's Anniversary.  I used my Silhouette this time, as I really believe the Silhouette, without the mat, makes a smoother cut, thus making it easier to "weed".
Photo editing happened here

Photo editing happened at the top of this one.  
After you decide on a typestyle, cut your vinyl and weed, it's time to stick your stencil on your glass and etch!

I use Armour etch, (you can get it at Michaels, JoAnne's, and I think, Walmart.)  It is the stuff!  If you by chance drip any or it gets on an area you didn't intend to etch, forget it.  It is STRONG stuff and will eat some of the glass, no matter how quick you wipe it off.

I let mine set for 5 minutes, then rinse.  Etching is permanent, and a beautiful way to remember special events!

Saturday, April 21, 2012

Lillie's Bucket

Our dog, Lillie, has more toys than most kids I know.  I got tired of them being strewn all over the house, so I made her a bucket.  Again, I used my Cricut and a bucket from Dollar Tree and "personalized" it.  If I could get her to put her toys back into the bucket, I'd really be accomplishing something!

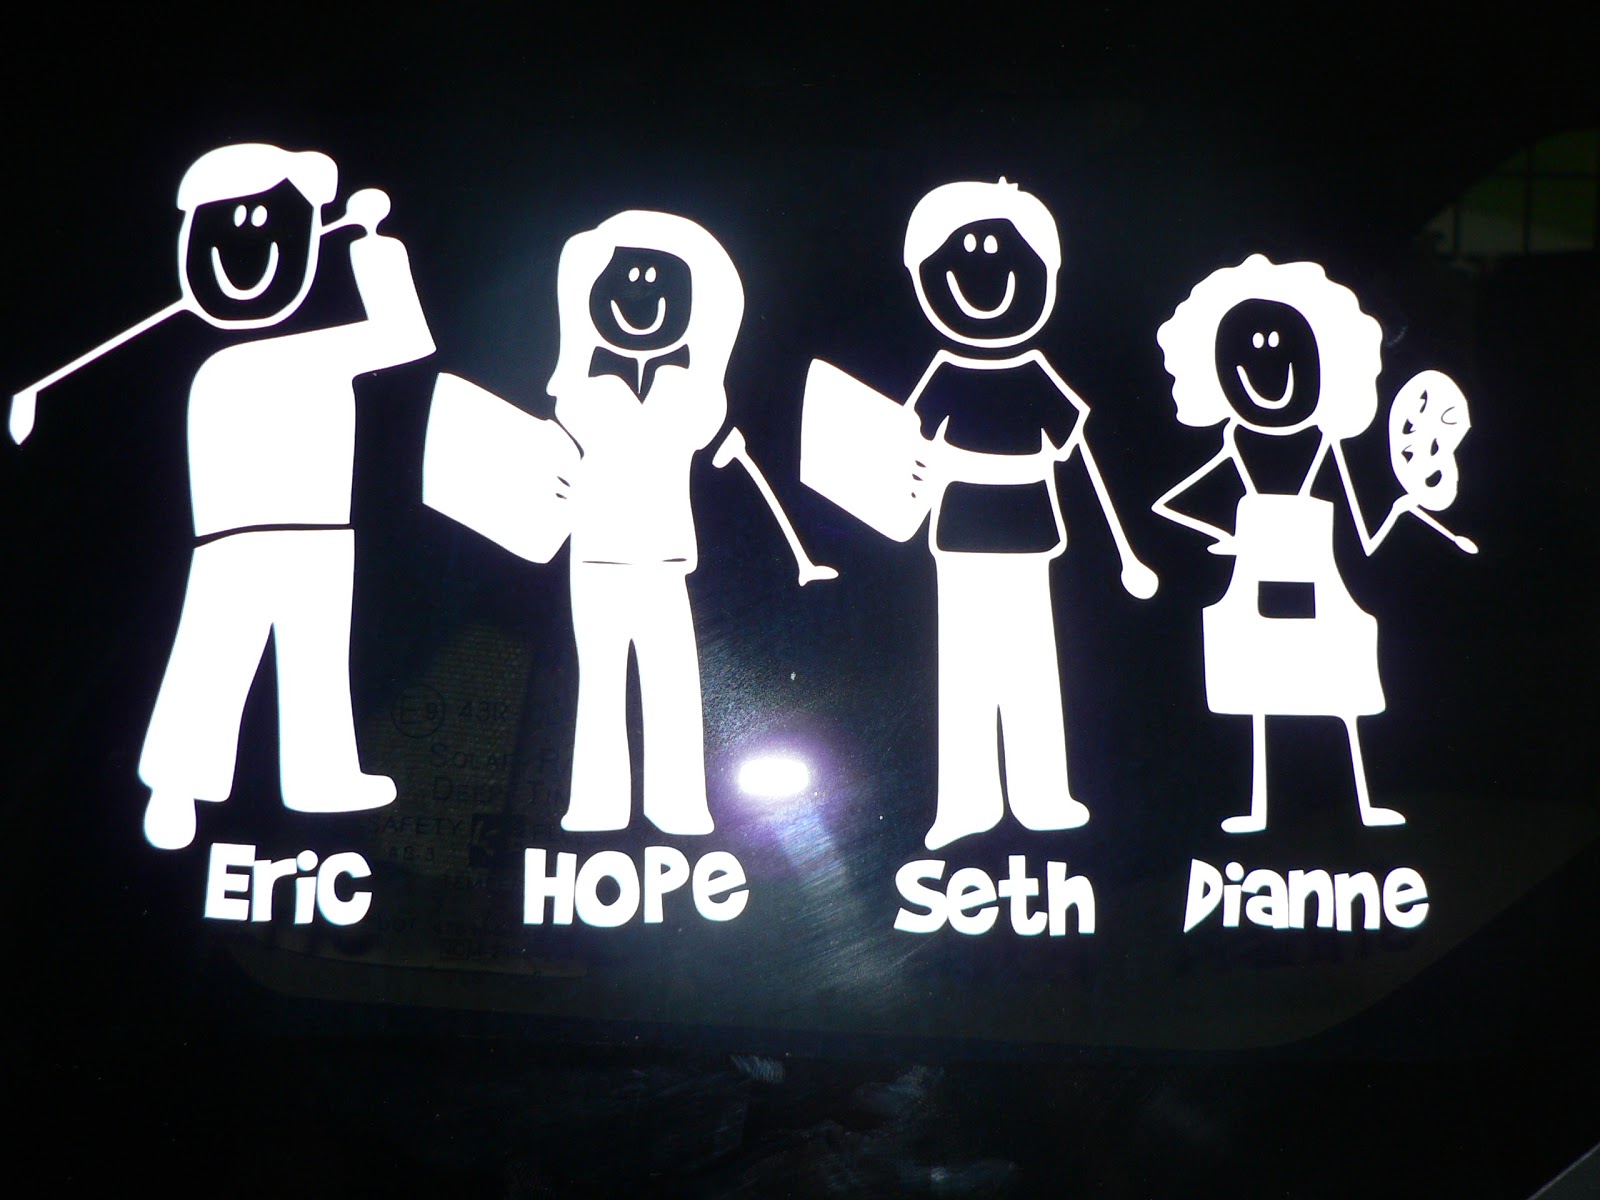
Personalizing the car

One of the things I have done is to use the Cricut to make a "Stick family" of my real family.  I used the Oracle film.  It's been four years since I did this, and it's still there!