Pages

Tuesday, June 14, 2016

Painting Cotton


A friend of mine had found a painting of cotton that she really liked, and wanted to know if I could try to duplicate it. Since I saw "palette knife" all over it, I jumped at the chance. This is the biggest painting I had ever done, so a good challenge was in the offering, too. 20X30!

First I painted the canvas Van Dyke brown. I then bought some acrylic paint and realized I would likely need more and bought sample sized latex paint at Home Depot much cheaper.


I put my paint on my very sophisticated palette.

I went to town with my palette knife and my off white base coat.

I then added some dark blue and some tan because I knew the off white wasn't dark enough for the cotton.
This simply was too abstract, so I got a paper towel dipped in water and beigy paint and even things out.

My first try was ok, but it lacked depth and I didn't add enough stem to the cotton.
I also decided to tone down some of the color at the top and left side. For better or worse, this was my finished product. Oh! I forgot to add that I used cotton balls dipped in gesso for my cotton!

This was a fun project and very easy. I hope you give it a try!


Friday, May 27, 2016

How to make a Graduation display table

To make my daughter's Graduation table display, I knew I wanted to go BIG! I also knew I didn't want to destroy or make copies of so many photographs. So, I had seen somewhere on the internet how to make a large black and white MECHANICAL PRINT or ENGINEER'S PRINT from FEDEX for very little money. When I say large, I mean "Large"! 36x48 inches large! This size is the exact size of the large display boards you will find at Staples or Office Depot. So I used a "Proportional Scale" to find out how large I needed to make my file on my desktop publishing software. For 36 X 38 to be large enough to work on in condensed form and keep the quality highest, my software went up to 20 inches. That meant I had to find out, on the proportional wheel, what would 36" be. My wheel told me 15X20 or 42% of the finished size.

The best thing about doing this is the cost! It was right at $10 for a 36X48 print!
This is what it looked like after being printed at Fedex. I needed to trim a little, but I loved it!


My next step was to attach it to my display board. I knew that would be tricky since it's so big. I decided to do it in sections. Which meant measuring and cutting each "panel", then attaching with spray adhesive.


So off to the deck I went to avoid any over spray. I ended up with this. I burnished the image with a Pampered Chef scraper!


I then did the two fold sides. (Didn't take a picture of that, but you get the idea.
This was my finished display before adding pictures.


As you can tell, there were sections of "white" on the edges. I knew I needed to get rid of them and decided cutting them with the band saw would be quicker than using an exacto, but you could do either if you had the same problem.

Next, I added pictures down the side.

* OH! One thing I forgot to mention is the great font that I used for my daughter's quote. It is called Bromello from dafont.com. Best of all, it was a free download! I LOVE this font!

Sunday, March 6, 2016

Nashville Skyline, painted

Well, this was a fun project! First, I used burnt sienna acrylic paint to do a back ground. I went light in the center and then mixed some umber to darken the paint for the background.

I used my vinyl cutter to cut an image of the Nashville Skyline that I found in a Google search. Then I adhered it to the painted background. I used off white/cream colored paint and a palette knife to follow the Cricuit cut stencil's outline. I trailed off at the end to give it that "fading out" look at the bottom. Then I painted a "water line" below, leave a break for the free hand rendering of the General Jackson in the water. I love Nashville!

Saturday, February 20, 2016

Chalk Paint Dresser and Vintage Graphics


The one REALLY good thing about getting ready to get new carpet, besides purging, is being able to paint without a drop cloth!!!! YEA!!!

I've had this dresser since my son, now 20, was a toddler. It was given to us by some neighbors. It's been blue for a boy and, after my daughter was born, pink for a girl. Then white as an all purpose "catch all". Lately it's been our TV stand in the Bonus Room. (Sorry, no pictures from then when the room was CLEAN.)

PLEASE EXCUSE THE MESS...I am ashamed.

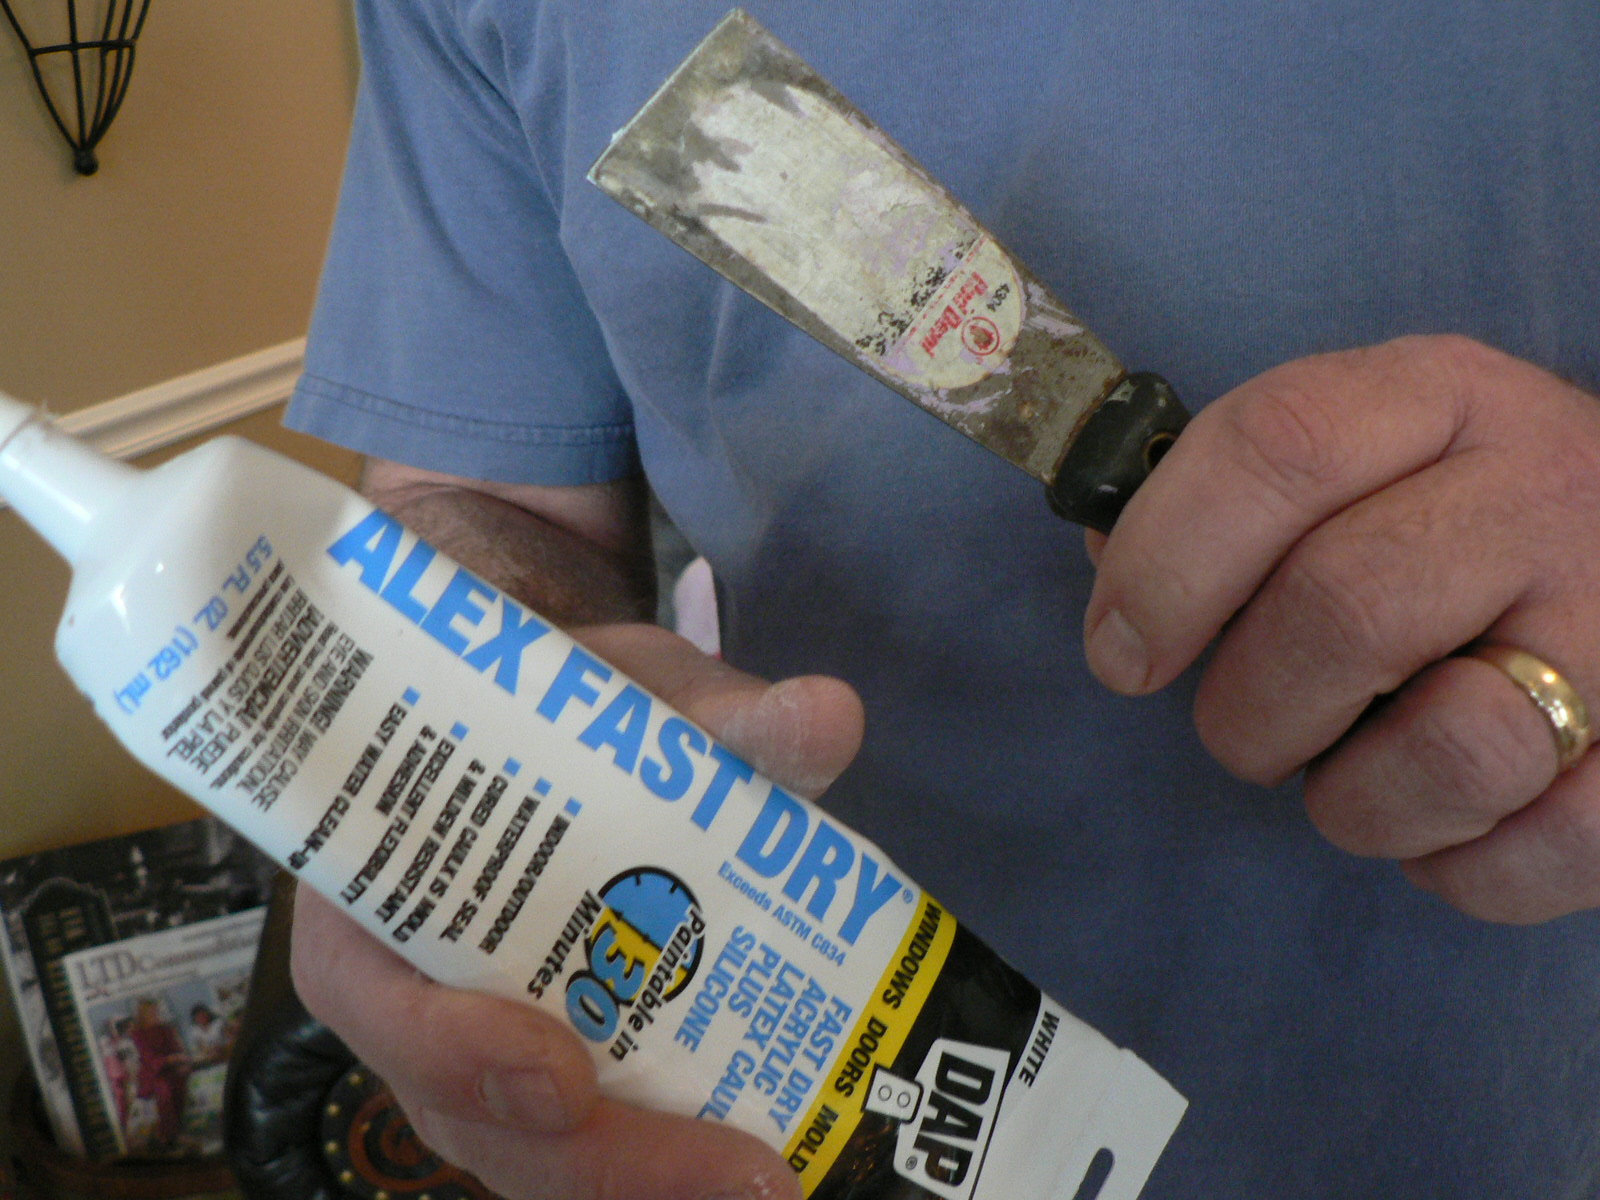
Here are the supplies needed:


That's chalk paint from Walmart in "Plaster" and "Elephant". I was going to paint it all "Plaster" but changed my mind at the last moment. I also thought I do some serious distressing on this and put deep red in the crevices. Well, wrong. Changed my mind.

Here's how I started out:

First I had holes to fill. I sanded, but the paint kept flaking and I didn't have any wood putty. I was in a hurry, so I sanded as best as I could, and just filled the flicking paint chips with sealer and am hoping for the best.


Next, I added the red that I ended up not using.
Did I mention we are getting new carpet and packing and my house is a wreck?

THEN...and this is the best part of all. I went over to thegraphicsfairy.com and downloaded this beauty. You will want to download the "Mirror Image" if you are going to do the Citrasolv transfer method.

THEN...and this is the second best thing of all. I went to blockposters.com. 
This is a magical place that can turn your JPEGs into any size you need...for free!!!! I printed out the graphic ON MY LASER PRINTER (an inkjet will not work) and I was ready to begin the transfer.
First I measured and taped it down. It's import to keep things secure as you will be lifting to check the transfer.
All taped and ready to begin. You need a cup for the Citrasolv (that's it in the bottle), Q-tips to transfer a small amount at a time of the Citrasolv on to your paper, and a metal spoon to burnish the image down. I've tried other things and a spoon works perfectly.

With the Q-tip wet, go very sparingly on the Citrasolv or it will smear. Lift back after burnishing to check. You may need to re-rub. My laser jet printer is in sad shape, so my ink is not as dark as I would like. I'll fix that in a minute.
This is what it looks like before you remove everything.

I didn't take pictures, but I had to go over parts with the "Elephant" paint and a small paint brush, as well as a fine tip Sharpie. I then sealed the top with the Mod Podge Antique Sealer and sprayed the front and sides with a Matte Sealer.

Voila!
The most expensive part were the drawer pulls! I knew what I wanted and it cost me around $30! Yikes! But, I do think it completes the piece and I'm pleased. Of course, I am tired from doing packing and painting so what do I know?


Painting Blue Willow Vase & Roses

I thought this would be really hard, but it wasn't. To make the vase, you paint a vase that has a cast shadow the color of what would be reflected near it. For example, whiter near the light source, orange near the apricots, darker in shadow. The "Blue Willow" is basically just a squiggly design you come up with and slightly go across with a dry brush to blend. The Roses?, well, YouTube is a magical place!

Friday, December 11, 2015

Monochrome Portrait


I have always loved portraits. I am really "drawn" to them for some reason, even people I don't know. I painted this portrait of my daughter using a combination of alizarin crimson and sap green. I had intended to just do an underpainting first, then add color. I like the look so much I just added some simple flecks of blue, and called it done.

Saturday, December 13, 2014

DIY Victorian Mantel


I have always loved the look of a Victorian Fireplace! Our fireplace was very pretty to me before, but I got it into my head when I saw a lone mirror for sale at GOODWILL for $19, it could be transformed into my dream fireplace. The cool thing is, this mirror was originally attached to a bedroom dresser! You never know what treasures or potential treasures you will find at Goodwill!

Anyway, first I had to get that big boy home, then I had to talk my husband into painting it. I knew I wanted my husband to do it because he is a genius with spray paint. I leave runs every time, but he is a spray paint artist. (I don't have a picture in its original mahogany state). But, being the all around good guy that he his, he agreed.

I taped around the three "mirrors", last go 'round adding newspaper so there wouldn't be a lot of scraping of paint off the mirror.

Sorry for the mess, but we decided to finally "attach" this to the wall when putting up Christmas decorations! This is after removing tape and newspaper.

Then, my husband drilled a hole in the center top of the frame to anchor the mirror to the wall.


Next, my husband and daughter lifted the mirror in place and measured where the anchor bolt would go. Hubby also used another bit to countersink the screw so we could spackle. (Getting ahead of myself!)

 Up, down, up, down. I'm glad they love me!


Anchor bolt.


I'll come back and repaint when I have time.

Ahh...Sitting back and enjoying my new mantel!

Sunday, August 24, 2014

Young Elizabeth Taylor


I haven't had much time to paint in recent months, but I watched a video that discussed the "Flemish Technique" when painting. The video said to paint the canvas all over in a burnt umber, but I went with red/orange. I like using the red/orange because I tend to paint from photos and if you're a novice, like me, you tend to have paintings that are washed out. This time I wanted some life in it! Funny I should say I wanted some life in it it, because after you put the base down using the Flemish Technique, you paint shadows and darks, creating a "dead layer". I mixed up Transparent Earth Oxide and black and created a couple of shades of green. You then use the darker green for the shadows, lighter for the midtones. It was amazing having the green shadows as flesh has blues/purple/green in it anyway. The rest was so much easier with the green against the orange as a guide. Mostly tweeking after that to get the results. I'll try this method again as I love the richer color. 

Basically, I've discovered that paint is just practicing and learning. I don't think one ever stops. I look forward to a time when I can devote more of myself to both.